
Purpose: #
This document will cover how to configure the Yealink AX83H WiFi Handset Phone
Process: #
Important: Please do not throw away the box contents until setup is finalized.
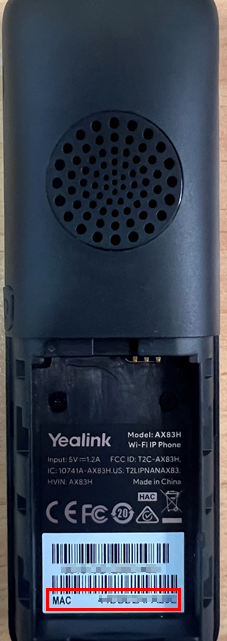
1. Take a picture of the MAC address for the phone. This can be found at the back in the battery compartment
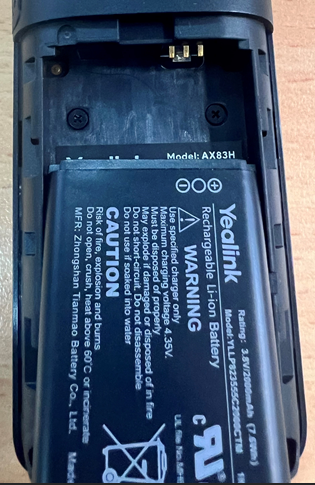
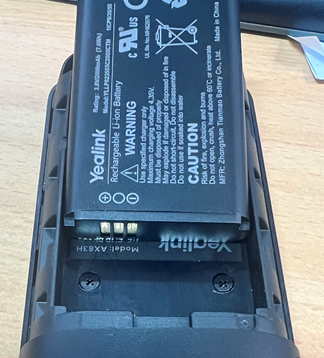
2. Insert the battery by sliding it in. Ensure the copper sections on the battery and the phone are touching
3. Slide the battery lid on

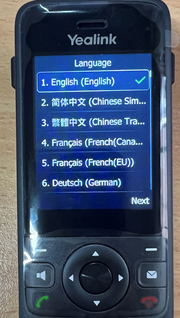
4. Choose the appropriate language for the phone
5. Select option 1 to quickly connect the Yealink AX83H to your Wi-Fi
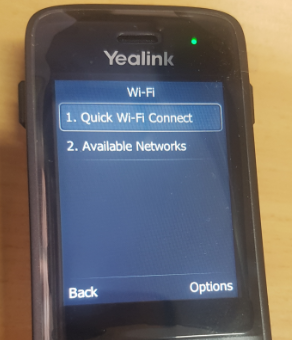
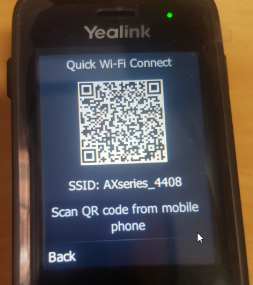
A QR code will appear when you select this option.
WiFi setup using iPhone #
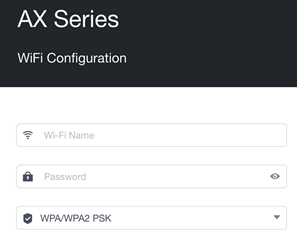
Scan the QR code with your phone and enter your Wi-Fi details on the following page
WiFi setup using Android #
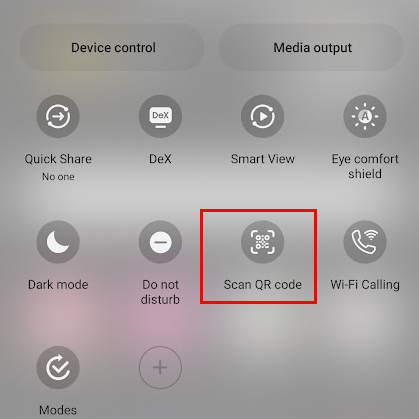
Scan the QR code using Android’s QR code scanner.
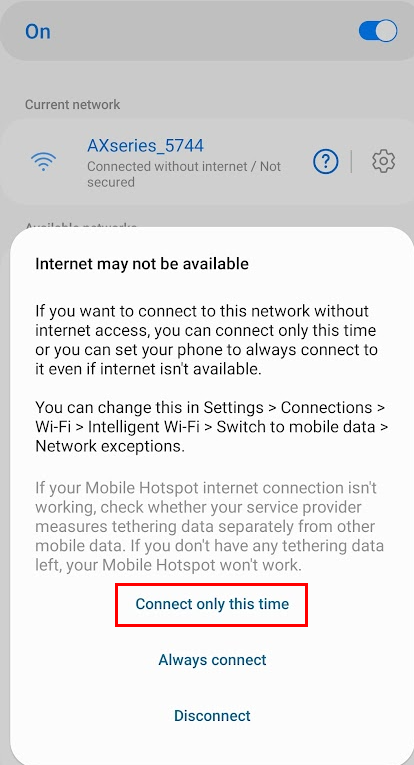
You will be joint to the AX53H network. Select connect only this time
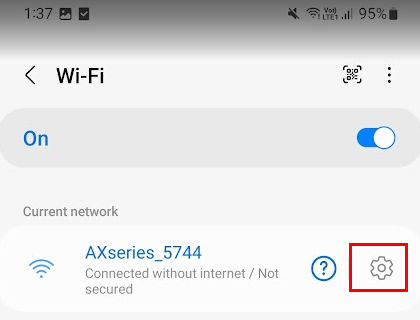
After a moment click the gear icon and then ‘Manage Router’
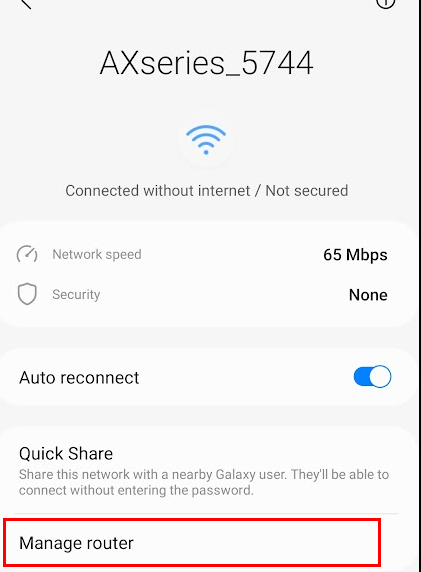
Finally enter your Wifi’s SSID (name) and password
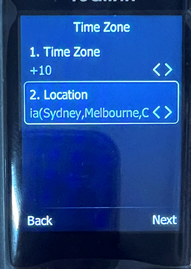
6. Next set the appropriate Time Zone followed by the correct location
7. Create an admin password.
Troubleshooting:
If you are unable to connect the phone to Wi-Fi or do not have access to another device, you can select ‘Available Networks‘ instead of ‘Quick Wi-Fi Connect’. If you select this option, you will have to select the correct SSID and enter the password in using the Yealink AX83H’s keyboard.


